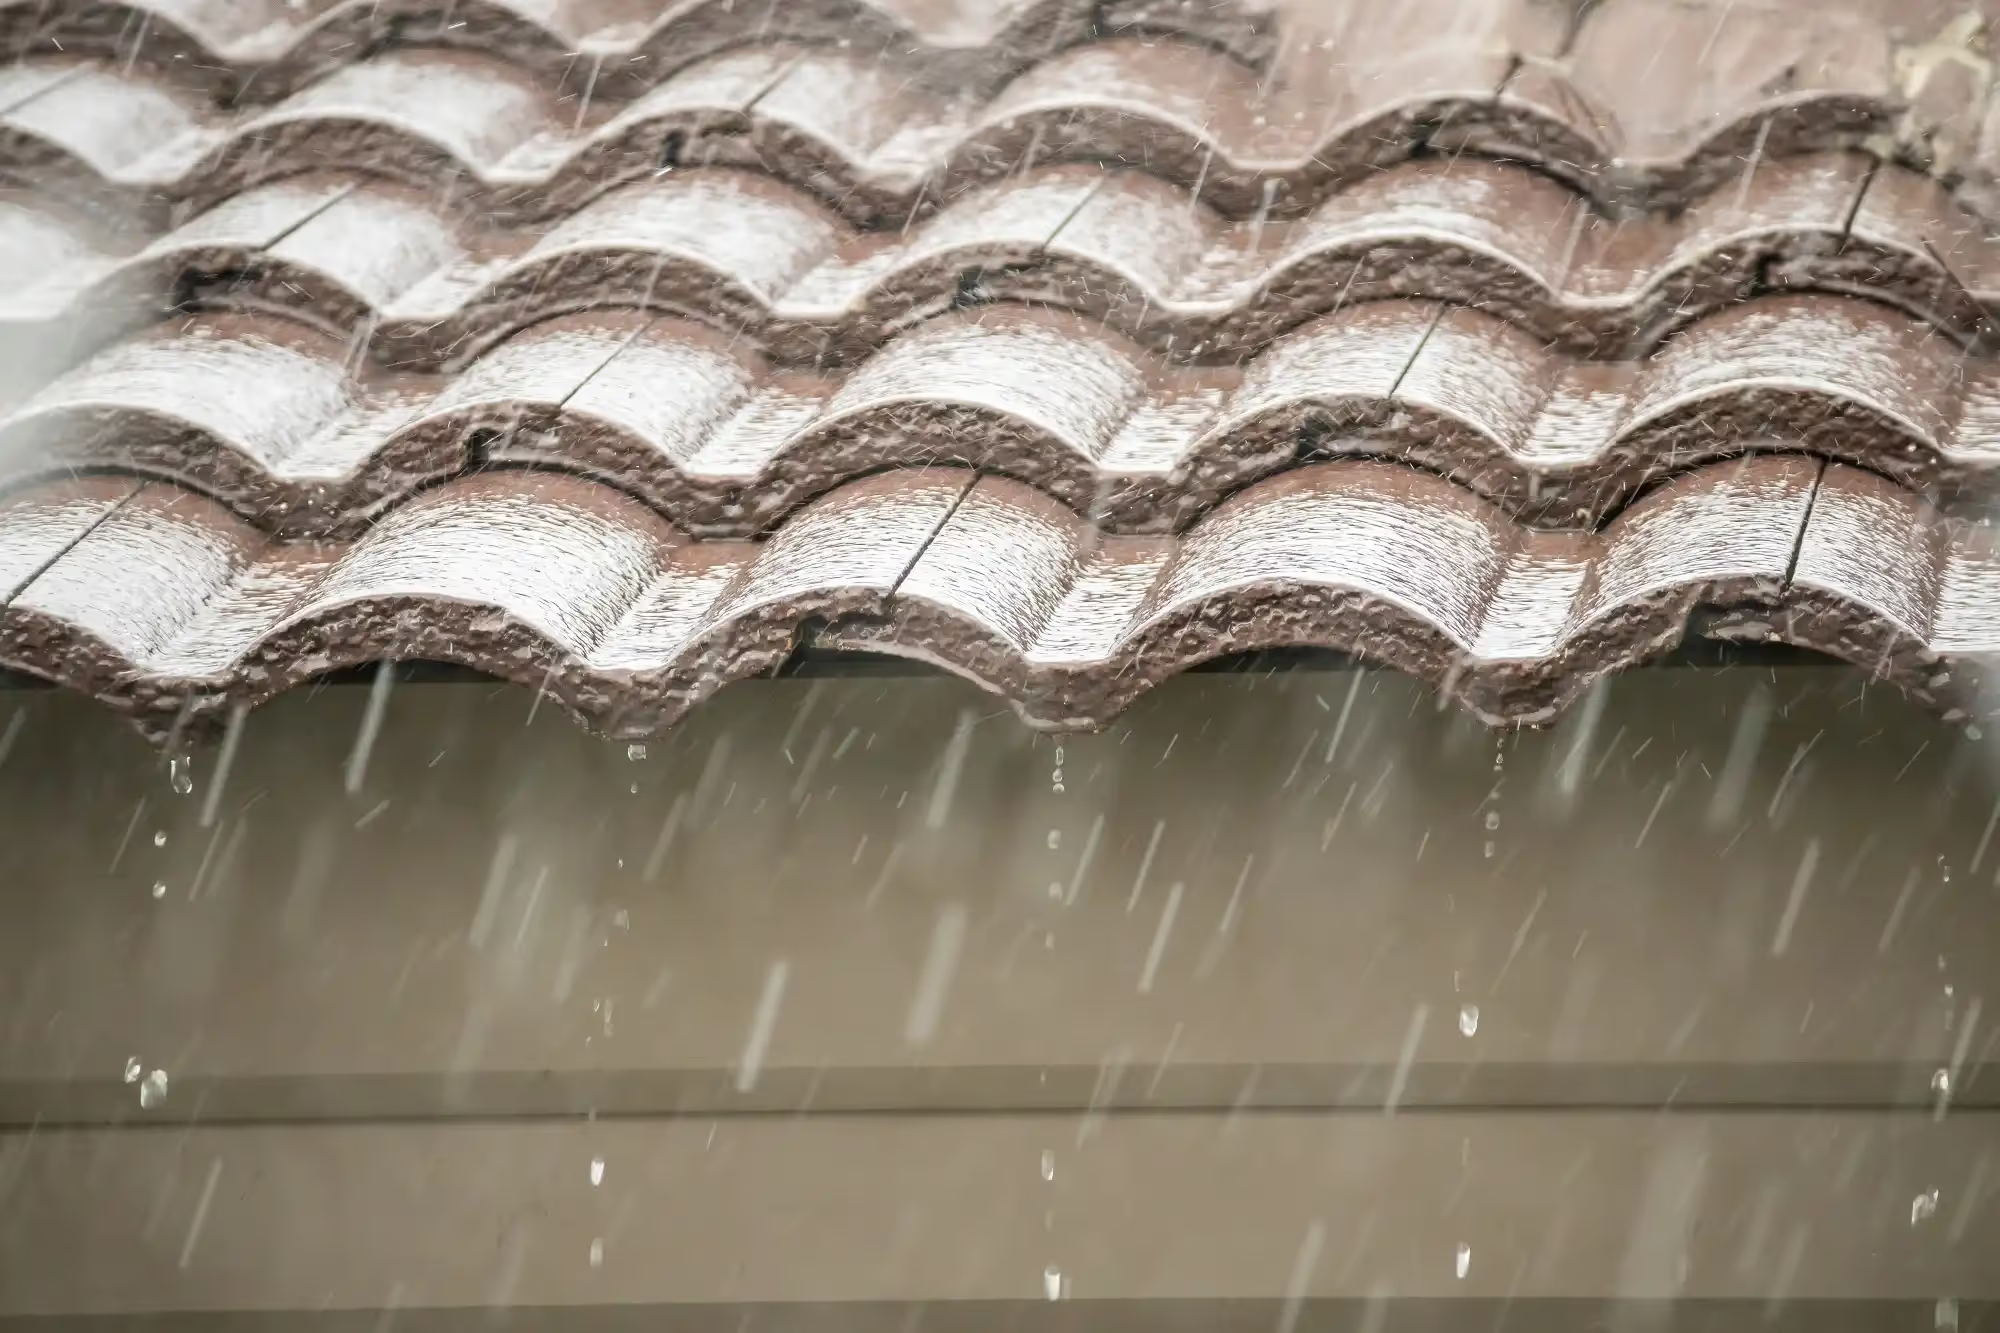
Thinking about replacing your roof yourself? You’re definitely not the only one. A lot of homeowners go with asphalt shingles because they’re tough and affordable and don’t take a roofing crew of ten to install. If you’re a hands-on type looking to save money — or just curious about how it’s done — this guide breaks the whole process down in a way that actually makes sense.
As experienced Chicagoland asphalt shingle installers, we've created this comprehensive guide to help you navigate your roofing project successfully. Before you begin, be sure to download our complete step-by-step checklist to keep your project on track!
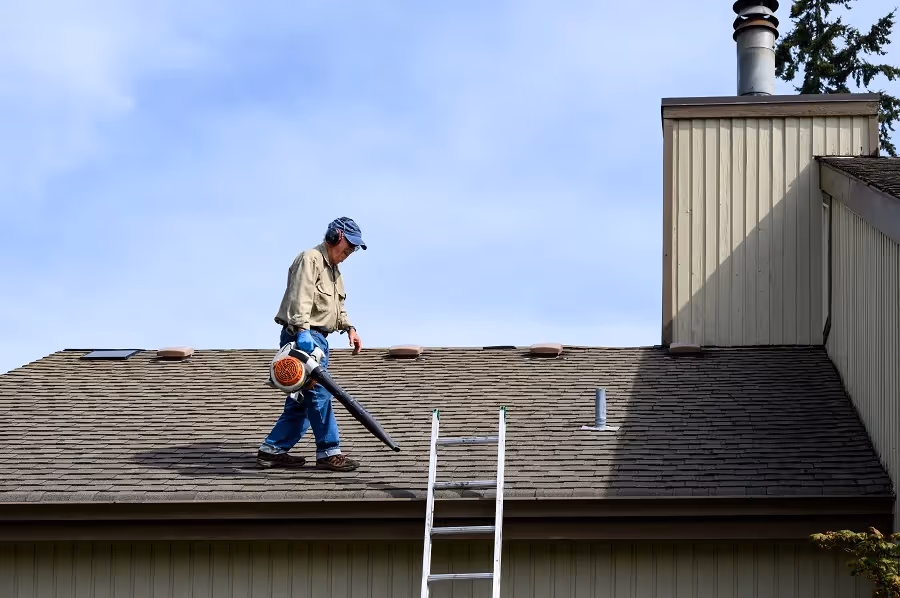
Roof Safety 101: Protect Yourself Before You Start
Let’s be honest — roofing without proper safety prep is asking for trouble. If you’re going to be on a roof, you need the right gear and mindset to stay out of the ER. Lock in these basics before your feet leave the ground:
- Strap into a solid fall harness and double-check your anchor points.
- Put on boots with real grip (no sneakers allowed).
- Use a ladder that’s actually braced, not one your cousin’s holding steady.
- Throw on gloves and eye protection — flying debris is real.
- Keep a first aid kit nearby, not buried in the garage.
- Have someone else around while you work, just in case.
- Never do it alone — even pros have a buddy system.
Beyond being painful, roofing injuries are expensive. If you’re nervous about heights or don’t feel fully ready, there’s no shame in calling in a pro. And yeah, double-check those local codes before you start. No one wants to rip off brand-new shingles after a failed inspection.
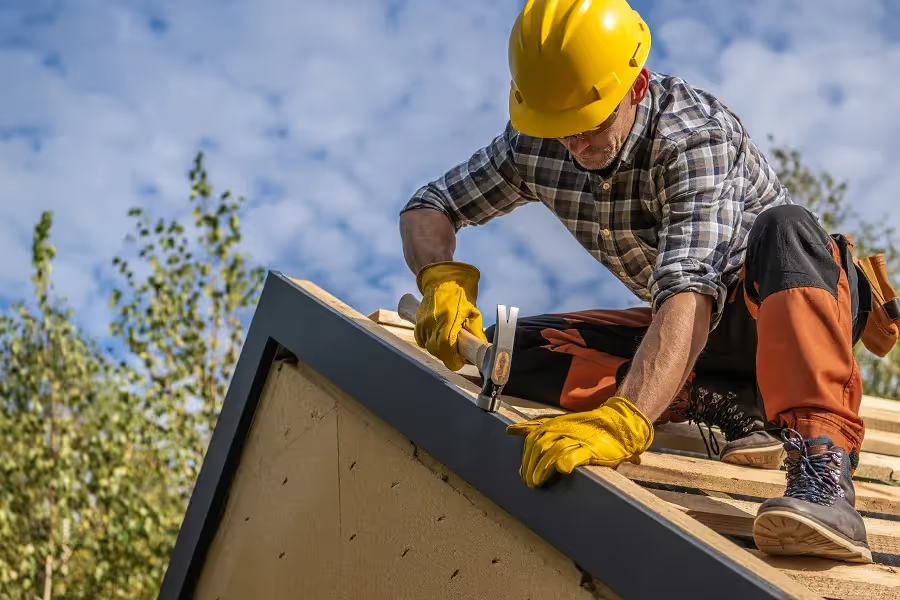
Your Roofing Shopping List: Everything You'll Need

A good roof starts with the right gear. If your foundation’s weak or your tools are missing, even the best shingles won’t save you. Here’s what to have on hand before you start the tear-off.
Let's Get Shingling: Your Step-by-Step Action Plan
The installation process consists of several critical steps that must be followed in the correct order to ensure a watertight, durable roof. Each phase builds on the previous one, creating a complete system rather than just slapping on shingles. Let's break down each step, starting with proper preparation of your roof deck.
1. Create Your Clean Slate: Prep That Deck!
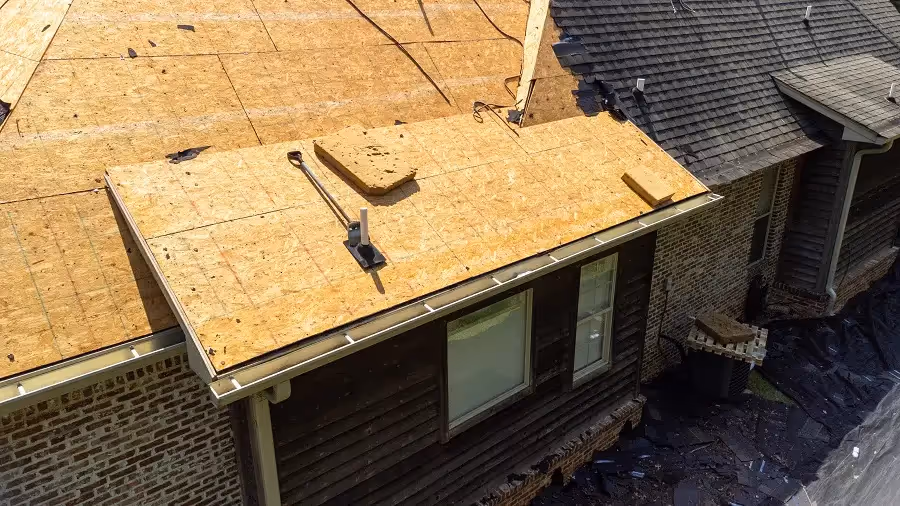
Your shingles won’t last if the surface underneath is a mess. The roof deck is your foundation — don’t skip over it. Here’s what needs to happen:
Tear off all the old roofing material down to bare wood. Yes, it’s messy. Yes, it’s extra work. But it’s the only way to spot rot, water damage, or structural issues hiding underneath.
Make sure your deck is:
- Smooth and clean (no raised nails or splintered spots)
- Fully dry (moisture now means mold later)
- Strong underfoot (replace any soft or spongy areas)
- Properly fastened to the frame (tighten loose spots with screws)
Take your time here — rush this step, and you'll regret it for the next 20 years!
2. Install Drip Edge at the Eaves
Working from the bottom up, the first component installed is the drip edge along the eaves (the lower edge of the roof):
- Position the drip edge tightly against the edge of the roof deck.
- Fasten with roofing nails approximately every 12 inches.
- The drip edge provides a clean, finished look while preventing water from wicking back underneath the roofing components.
Note: Drip edge for the rake edges (the sloped sides of the roof) will be installed later, on top of the underlayment.
3. Apply Ice and Water Shield
If you live where winters hit hard, ice and water shields are a must. It blocks damage caused by ice dams:
- Start at the bottom and run the membrane horizontally.
- Let it overlap the drip edge by about ¼" to ¾".
- Roll it up far enough to reach 24" inside the house’s wall line.
- Add extra shield protection in valleys and around anything sticking through the roof.
- Make sure temps match the product’s install guidelines.
The rubberized material seals around nails and adds extra protection in areas that take the most abuse.
4. Install Roof Underlayment

Once your ice and water shield is in place, it’s time to cover the rest of the deck with underlayment:
- Start at the eaves and overlap the top of the ice shield by about 4 inches.
- Roll it out in horizontal rows, working your way toward the ridge.
- Each layer should overlap the one below it by 2 to 4 inches — check your product specs.
- If you’re covering both roof slopes, overlap across the ridge by at least 6 inches.
- Secure it with plenty of fasteners — cap nails work best for synthetic underlayment.
Once the underlayment is down, go back and install a drip edge along the rake edges. This time, it goes over the underlayment, not under it.
5. Prepare the Valleys

Valleys (where two roof planes meet) require special attention as they channel high volumes of water:
For open valleys (recommended):
- Center a 36" wide strip of ice and water shield in the valley.
- Install a pre-formed metal valley liner, centered in the valley.
- Secure with minimal fasteners at the edges only.
- Overlap sections by at least 6" and seal with roofing cement.
- Snap chalk lines on each side of the valley to guide shingle installation.
For closed valleys, special techniques will be used during the shingle installation phase.
6. Install Flashing Around Penetrations
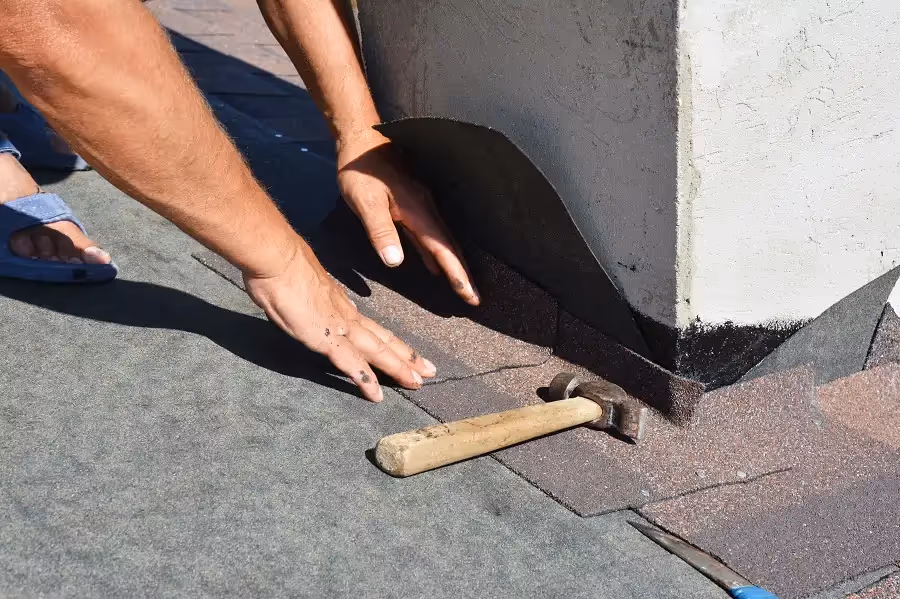
Proper flashing is critical around anything that penetrates the roof:
- For plumbing vents, install vent flashing (often with rubber boots).
- For walls and chimneys, use step flashing pieces.
- For larger items like skylights, follow the manufacturer's specific flashing kits.
- Always overlap flashing pieces by at least 3" to ensure water flows downward.
When installing step flashing against walls:
- Use pieces around 10 inches long and 2 inches wider than the exposed part of your shingles.
- Lay each piece over the end of a shingle course.
- Bend so half sits flat on the roof and half runs up the wall.
- Nail only the roof side — leave the wall side floating so it can flex without pulling loose.
7. Install Starter Shingles
Starter shingles create a critical base for your first course of full shingles:
- Install starter strips along all eaves.
- Position them to overhang the drip edge by ¼" to ¾".
- Nail securely according to manufacturer's specifications.
- The adhesive strip on starter shingles should face upward to seal the first course.
- For additional wind resistance, install starter strips along the rakes as well.
8. Install Field Shingles

Now you’re ready to shingle the main roof area:
- Begin at the bottom and install full rows across and upward.
- Start with a full shingle at the rake edge of the first course.
- Follow the specified exposure — typically 5⅝ inches for 3-tab shingles.
- Use the recommended nail pattern, usually 4 to 6 nails per shingle.
- Drive nails straight and flush, but not too deep.
- Offset each course so the joints don’t line up — follow the product’s layout pattern.
- Use chalk lines as you go to keep rows straight.
For 3-tab shingles, a common offset is to cut 6 inches off the first shingle of the second course, 12 inches off the third, and so on. If you’re using architectural shingles, refer to their specific instructions.
9. Dealing with Valleys During Shingle Installation
When shingling into valleys:
For open valleys:
- Trim shingles to fit along the chalk lines you snapped earlier.
- Clip the top corner of each shingle at a 45-degree angle to help direct water flow.
- Add a dab of roofing cement under the end of each one for extra hold.
- Keep nails at least 6 inches away from the center of the valley.
For closed-cut valleys:
- Extend shingles from one side completely through the valley.
- Trim shingles from the other side 2" back from the valley centerline.
- Clip the upper corner of each shingle that goes into the valley.
- Secure with roofing cement at the valley edge.
10. Install Hip and Ridge Caps
The final step is capping hips and ridges:
- For hips, start at the bottom and work up.
- For ridges, start at the end opposite the prevailing wind direction.
- Bend cap shingles over the ridge, overlapping each by the recommended exposure.
- Use longer nails (typically 1¾") to secure through both layers.
- Cover the last nail heads with roof cement.
If you’re adding ridge vents:
- Cut an opening along the peak before installing the vent.
- Follow the vent manufacturer’s instructions carefully.
- After the vent is in place, install ridge caps over it to finish the job.
11. Final Cleanup and Inspection
Once installation is complete:
- Remove all debris from the roof surface.
- Thoroughly sweep the ground with a magnetic sweeper to collect nails.
- Inspect the entire roof for any missing nails, improper sealing, or other issues.
- Check that all flashing is properly installed and sealed.
Rookie Mistakes & When to Call in the Cavalry
Even the most careful DIYers can run into trouble on a shingle roof project. We've seen it all over our years in the business — from minor mishaps to catastrophes. Following local codes and building codes is crucial when installing shingles, as improper installation can void warranties and create serious problems. Understanding these common pitfalls before you start can save you significant time, money, and frustration.
Blunders That Can Ruin Your Roof
- Improper nail placement: Nails placed too high won't secure the overlapping shingle; too low and they'll be visible.
- Inadequate ventilation: Ensure proper attic ventilation to prevent premature shingle failure.
- Forgetting starter strips: These are essential for proper sealing at eaves and rakes.
- Misaligned courses: Use chalk lines to maintain straight courses.
- Working in poor weather: Never install shingles in rain, high winds, or extreme temperatures.
- Ignoring manufacturer specifications: Different shingles require different installation techniques.
When to Call the Professionals
DIY roofing is doable, but it’s not for every situation. It’s worth hiring a crew if:
- Your roof is steep, multi-level, or full of angles.
- Heights make you nervous or unsafe.
- The deck underneath needs a lot of repair work.
- You’re short on the right tools or safety gear.
- You want to make sure your warranty stays valid (most require pro install).
Professional roofers bring experience, efficiency, and often warranties that can provide peace of mind for what is one of your home's most important protective systems.
Ready for Professional Asphalt Shingle Installation?
DIY can be satisfying, but it’s not always the best route. At Greater Midwest Exteriors, we’ve been helping homeowners around Chicagoland for more than 30 years. Whether it’s a basic tear-off or a full roof with custom features, our crew can handle it. Reach out for a free consultation, and let’s see what your roof really needs.